Physical Address
304 North Cardinal St.
Dorchester Center, MA 02124
Physical Address
304 North Cardinal St.
Dorchester Center, MA 02124
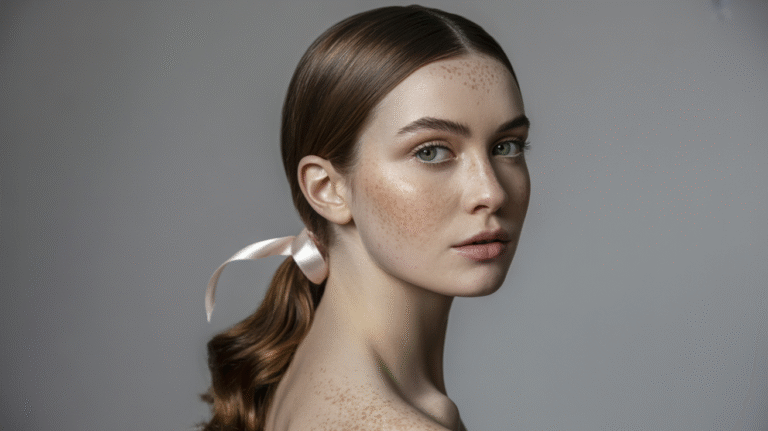
So, you want to learn how to braid hair? That’s awesome! Braiding is not only a fun and relaxing activity, but it’s also one of those timeless hairstyles that never goes out of style.
Whether you’re going for a sleek, classic look or something more boho and free-spirited, mastering the braid will seriously level up your hair game.
This guide is made especially for beginners—no fancy jargon or confusing instructions. Just real talk, easy steps, and lots of love. Let’s dive in!
Before you even think about sectioning your hair, make sure it’s clean and smooth. Braiding tangled or greasy hair is like trying to zip up a broken zipper—it just doesn’t work well.
Here’s what to do:
Tip: If your hair is curly or coily, apply a leave-in conditioner to make it more manageable.
Braiding isn’t just one style—it’s a whole world of options! But let’s keep it simple for now. Here are three beginner-friendly braids you can try:

The classic. The legend. The one your mom probably did for you growing up.

Fancy but totally doable. Great for keeping hair out of your face and looks super chic.
Also known as the “inside-out braid.” Like a French braid but the braid pops out more.
We’ll start with the three-strand braid, and then I’ll walk you through the French and Dutch styles.
1. Gather Your Hair:
Decide where you want the braid—at the back, to the side, or in sections. Grab the hair and hold it like a ponytail.
2. Divide into Three Sections:
Split the hair evenly into three strands. Let’s call them Left (L), Middle (M), and Right (R).
3. Start Braiding:
4. Secure the End:
Once you’ve braided all the way down, tie it off with a hair elastic. That’s it!
Tip: Don’t pull too tight. A relaxed braid looks natural and is more comfortable.
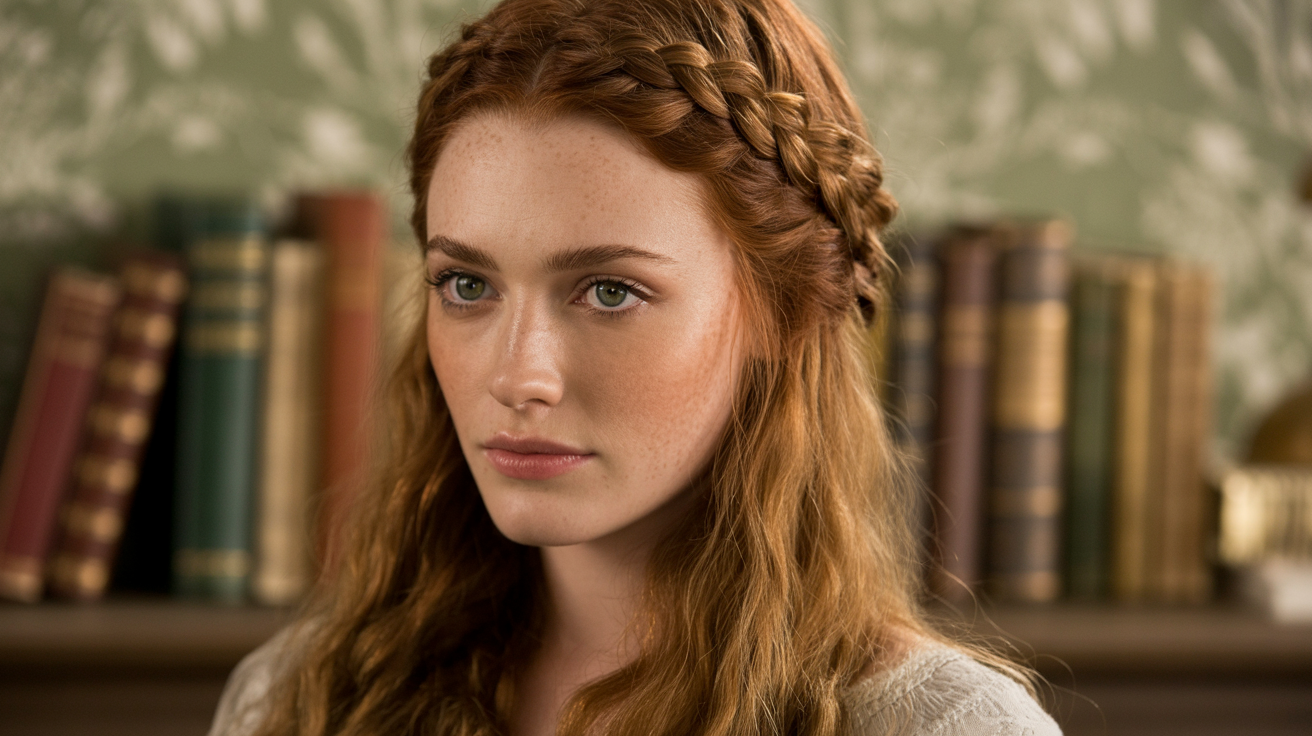
Ready to level up? Let’s learn the French braid. This one might take a few tries, but trust me—you’ll feel like a hair magician when you get it!
1. Start at the Crown:
Take a small section of hair from the top of your head—right at the crown—and divide it into three.
2. Begin Like a Regular Braid:
Make a few crosses—right over middle, left over middle.
3. Add Hair As You Go:
Now the magic happens. Every time you’re about to cross a section, grab a little bit of loose hair from the side and add it to the section you’re crossing.
4. Keep Going Down:
Keep braiding, adding hair from the sides each time until you reach the nape of your neck. After that, finish with a regular three-strand braid.
5. Secure with a Tie:
Use a hairband to keep your masterpiece in place.
Tip: Use a mirror (or two) to help guide your hands if you’re braiding your own hair.
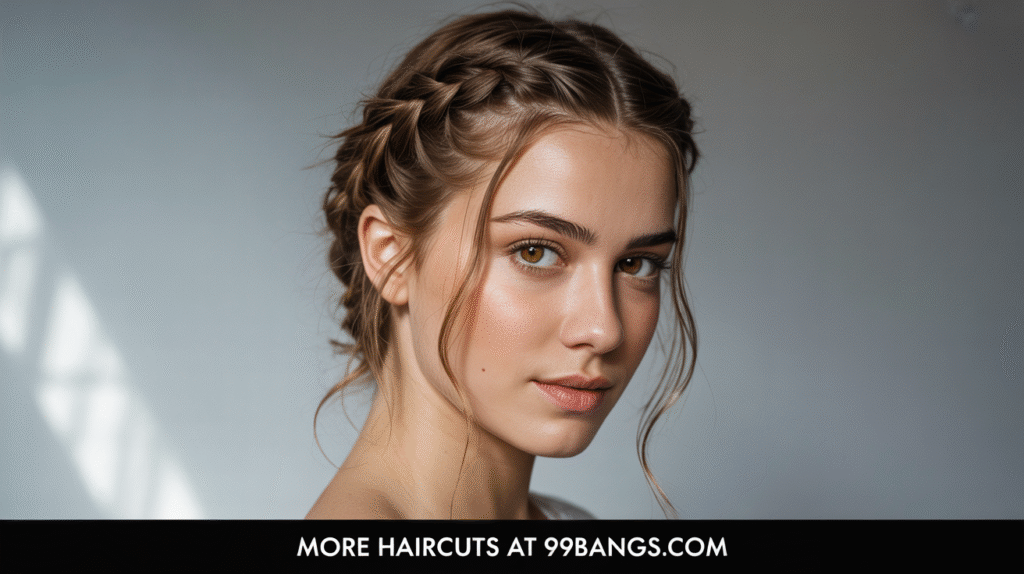
Okay, the Dutch braid is just the French braid’s cooler, edgier sister. It’s done the same way, but instead of crossing over, you cross under.
1. Start the Same Way:
Grab a top section and divide into three.
2. Cross Under, Not Over:
3. Add Hair to Each Section:
Just like the French braid, grab a bit of hair from the side each time before you cross.
4. Continue Down and Finish Off:
When you reach the end, braid normally and tie it off.
Why Dutch Braids Rock:
The braid stands out more—it looks raised and textured, which is great for styles like double braids or sporty looks.
Here are some golden nuggets of advice to keep your braids looking fab:
If you’re braiding your own hair, try using a mirror in front and one behind you so you can see the back of your head. It makes a big difference!
Braiding takes practice. Your first few tries might look like a spaghetti knot—totally normal. Keep going!
If you want heatless waves, braid damp hair at night and sleep in it. Take it out in the morning and boom—beachy waves.
Ribbon, beads, clips—don’t hold back. A little sparkle can transform a simple braid into something extra special.
Once you’ve mastered the basics, the braid world is your oyster. Here are some ideas to try:
Braiding might look complicated at first, but once your fingers get used to the rhythm, it’s honestly addictive. Practice on yourself, a friend, a sibling, or even a mannequin head if you’ve got one.
Remember, perfection isn’t the goal—confidence is. Your braid doesn’t have to look like something off Pinterest to be beautiful. It’s YOUR style, your creation, and with each braid, you’re getting better.
Now go grab a brush, a mirror, and maybe a little playlist to vibe with while you braid.
Here are 10 shaggy bob hairstyles.